-40%
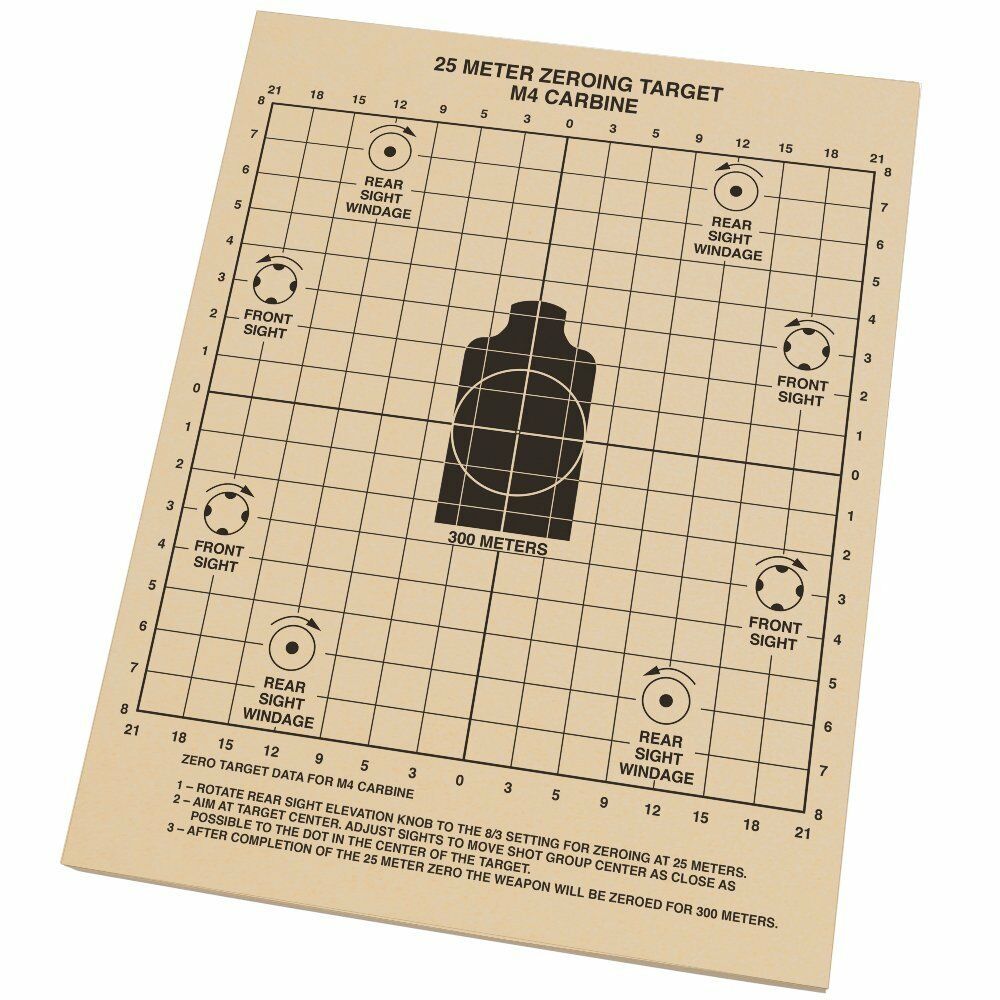
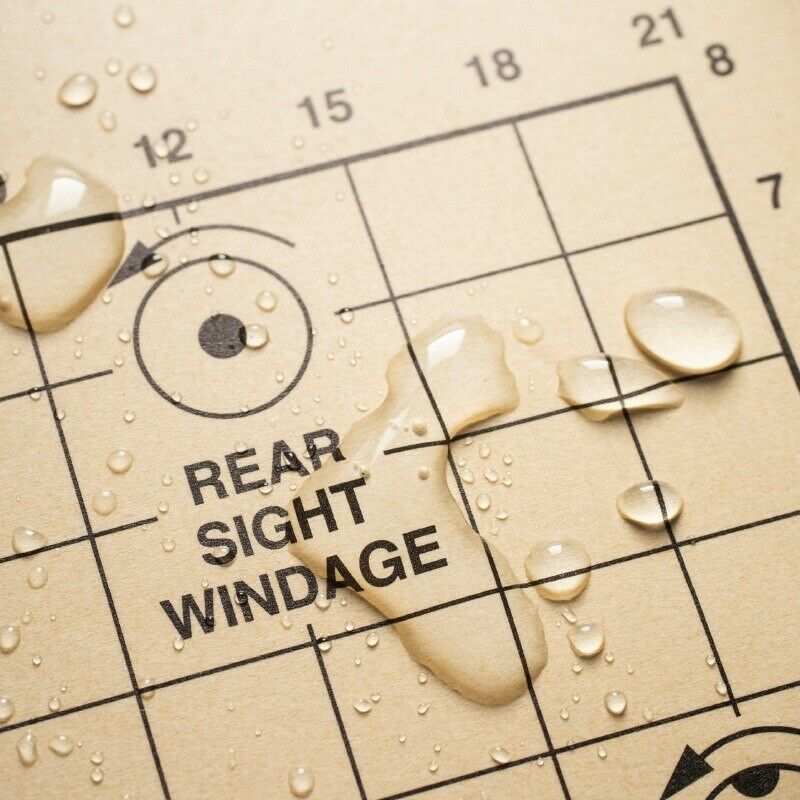
Lot of 20 -Rite in the Rain All-Weather M16A1 ZERO Target 81/2" X 11"
$ 6.33
- Description
- Size Guide
Description
Lot of 20 - Rite in the Rain All-Weather US ARMY Zero Target 8 1/2" x 11",Rite in the Rain All-Weather M16A1 ZERO Target
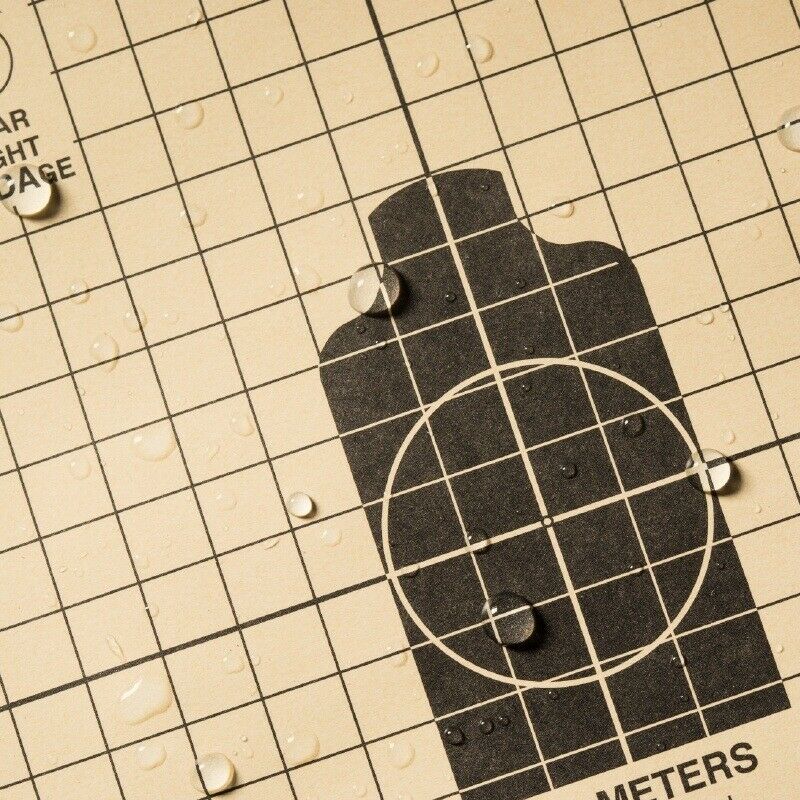
DOUBLE SIDED TARGETS HEAVY DUTY CARD STOCK TARGETS THAT MEASURE 8-1/2" X 11"
NSN 6920-01-482-0098
FREE SHIPPING
SAME TARGET USED BY THE US ARMY FOR BATTLE SITE ZERO OF WEAPONS
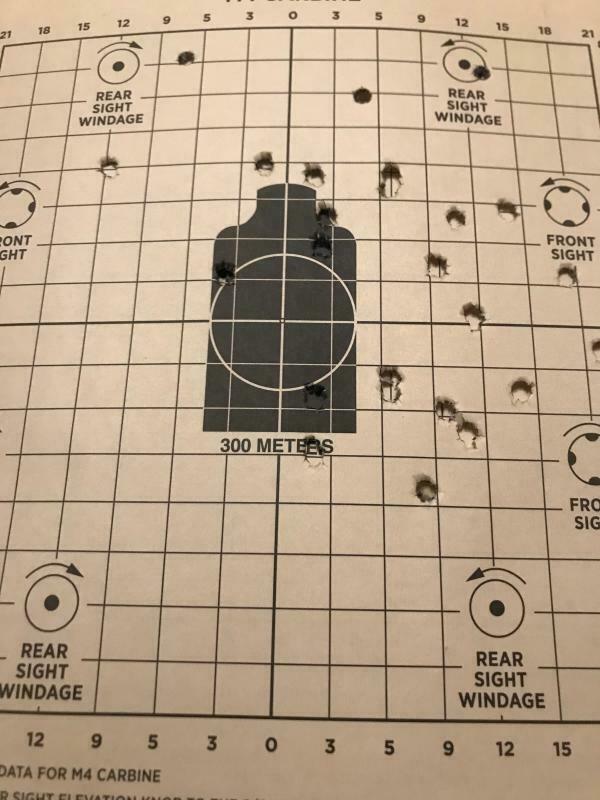
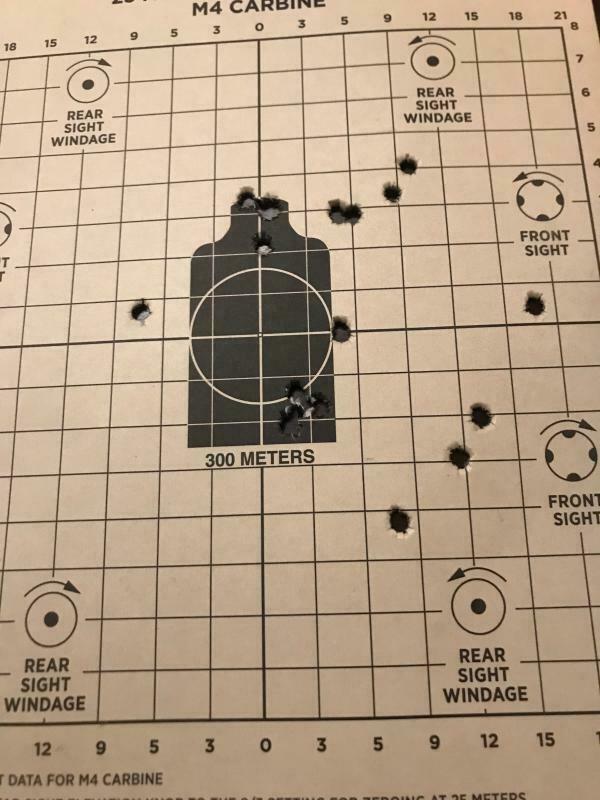
EVALUATION: Helps generate clean exit holes for accurate and easy evaluation of shot placement
GRID OVERLAY: Grid overlay makes MOA adjustments easy and accurate
DEVELOPED BY: This Zeroing Target was developed by US Army Master Marksmanship Trainers
·
Get the most accuracy you can out of your weapon - dial the sites in with this Targeting Sheet –
·
Designed for both the M193 round (55 gr) 250 Meters or M855 round (62 gr) 300 Meters
·
THESE ARE MADE FROM TOUGH CARD STOCK NOT FLIMSY PAPER
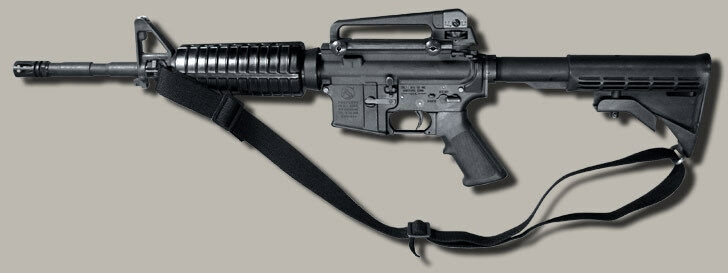
The rifle and its derivatives represent
America’s most popular rifle
, with increasing numbers of citizens investing in the lightweight, versatile sporting gun year by year. Finding, buying (
or building
) and customizing a rifle is a fun, rewarding experience, but all the
gadgets, upgrades and accessories
in the world don’t mean much if the user can’t get on target when it actually comes time to use the rifle.
Before new owners dream of winning shooting competitions, they’ll need to master the fundamentals of shooting, and one of the first tasks to understand and be able to perform is “zeroing” the rifle
Zeroing is the process in which the user adjusts the sights, whether it’s iron sights, a red dot or scope, to the point where the point of aim (POA) aligns with or is equal to the point of impact (POI) of the projectile at a given distance.
Many new shooters and those unfamiliar with the sport might assume this would be simple: the bullet travels in a straight line out of the bore, and you just have to match your sights to where that bullet goes.
Close, but not really.
When projectiles exit the bore of the rifle, they slow down and begin to drop (due to numerous factors, such as gravity, drag coefficient, muzzle velocity, temperature, wind, etc.) which creates an arc trajectory as opposed to an infinite straight-line path. However, when looking through your sights, you’re looking in a straight line out to infinity.
As a result, the bore of the rifle must be pointed slightly up when firing, allowing the projectile to intersect with the line of sight at a prescribed point. Think about throwing a football – that’s a decent analogy for how shooting a rifle works in regards to the flight path as it relates to the target.
Interesting to note, since you’re shooting with the bore tilted slightly up to intersect your line of sight, and since bullets drop over distances, trajectories will actually have two zeroes, since the projectile rises to intersect the line of sight, reaches peak elevation above the line of sight, then begins dropping where it intersects the line of sight again. An example of this is seen when shooting 55-grain M193 5.56x45 rounds from device. Using a 50 yard zero, the round will intersect the line of sight again at approximately 225 yards. There’s more to it than that, but we’ll stick to the basics for now.
Important to understand when measuring your groups when zeroing is the concept of Minute of Angle, or MOA, an angular measurement. One MOA is one-sixtieth of a degree, meaning at longer distances it will be a larger spread. For example, at 100 yards, 1MOA is measured at about an inch, while at 800 yards, eight inches represents 1 MOA. Coming to shorter distances, at 50 yards 1 MOA spreads at 1/2 inch.
Before you begin sighting in, if using iron sights, find your mechanical zero. Mechanical zero is process by which you set your sights, whether irons or optics, to the absolute center of their adjustment. In this example, we’ll assume you’re using a projectile pusher featuring a 20-inch barrel with A2-style rear sight and a front sight block. All the below is possible using guns with longer or shorter sight radii and types of sights; you’ll just need to determine or look up proper measurements for your sight setup for that firearm.
To begin, adjust the front sight post until the base of the sight post is flush with the sightpost housing. You can accomplish this using the tip of a .223 or 5.56x45 round, or using a front sight adjustment tool (worth owning, by the way!). Then, ensure your rear sight elevation setting is all the way down, with the rear sight elevation flush with the sight base. Next, adjust your rear sight windage to the left most extreme setting. Then, slowly adjust the windage to the right until you reach the extreme setting in that direction, noting how many clicks it takes to reach that ultimate setting. Divide that number in half, and return the adjustment toward the left in that number of clicks. That represents the midpoint of your sight’s windage range. For the A2 rear sight, this can be accomplished easily by aligning the sight to the center using the notches in the sight.
Once mechanical zero is set, determine what your zero distance will be. We’ll settle on 100 yards, which gives us a nice, even number. Position your target downrange at the appropriate distance and get in your shooting position. Using some sort of shooting support, like a sandbag or rifle rest, position your rifle at the line and aim for the center of the target. Note, there are a variety of zeroing targets available that will help you easily sight in your rifle.
Once you’ve got your eyes on the target, place your trigger finger on the trigger and fire five shots, careful not to jerk or move the rifle, as this will impact your groupings and make it more difficult to establish the point of impact. For best results, find the base of your cuticle on your trigger finger, and trace an imaginary (or real, if you don't mind a little ink!) line around to the pad of your finger. That line represents the best placement for the trigger, as holding the trigger too far in either direction could result in tugging the trigger awkwardly, which could move the rifle and alter your point of impact.
Find the center of your groupings, and measure how far that center shot is from the center of the target where you were aiming. For example, let’s assume the center of your grouping was two inches high and 1.25 inches to the left of center. Revisiting the principles of MOA, you know that since one inch is 1 MOA at 100 yards, you’ll need to adjust your sights 2 MOA down and 1.25 MOA to the right.
Leave the rifle in place, and adjust your windage and front sight elevation appropriately: on the rifle in this example, we know that each click on the rear windage setting equals .5 MOA, while each click on the front sight post elevation setting equals 1.25 MOA. Therefore, you’ll need to adjust your windage two clicks to the right, and adjust the front sight post elevation one click down. Once this is accomplished, shoot five more rounds at the target, then inspect. Continue making these adjustments, presumably finer each time, until you achieve acceptable groupings at the center of the target. Your rifle is now zeroed at 100 yards.
Keep in mind that unless you want to rely solely on your eyes and judgment to determine your point of aim when shooting at targets at different distances once you’ve zeroed your rifle, you’ll need to re-zero to the appropriate distance. Therefore, be sure to record the number of clicks it took for you achieve your zero from mechanical zero, as this will help you should you have to alter your zero and want to return to your original zero afterward. Alternatively, you can make markings on your sight with nail polish or correction fluid to note where your zero is.
Based on your firearm and your needs, you may decide a different zeroing distance is right for you. The shooting community has had impassioned arguments about what zero is best for you, with each proponent arguing the benefits of their method. Regardless of what you determine you want to do, the most important thing to remember is to have a solid grasp on shooting fundamentals before attempting to zero your rifle, and the method by which you accomplish said zero. Beyond that, it’s up to you to figure out where you want your rounds to land and how to get them there effectively.
Free Shipping - Questions Welcomed
CHECK OUT MY OTHER TARGETS I HAVE FOR SALE HERE ON EBAY
