-40%
5 in 1 Extreme Tip Tool For Your Pool Cue Care Gold / Brass FREE SHIPPING !!!
$ 9.5
- Description
- Size Guide
Description
<div style="text-align:center"><img src="HTTPS://ti2.auctiva.com/sw/java.gif" border="0"><br><table align="center"><tr><td height="28px" valign="middle" align="center"><font face="arial" size="2"><b><a href="HTTPS://emporium.auctiva.com/rbrooks027" target="_blank">rbrooks027 store</a></b></font></td><td><a style="text-decoration:none" href="HTTPS://emporium.auctiva.com/rbrooks027" target="_blank"><img src="HTTPS://ti2.auctiva.com/sw/thumbgallery.gif" border="0"></a></td></tr></table></div><img src="HTTPS://ti2.auctiva.com/web/aswCredit.gif" border="0"><br><a href="HTTPS://www.auctiva.com/?how=scLnk1" target="_blank"><img src="HTTPS://ti2.auctiva.com/images/sc1line1.gif" border="0"></a>
Lounge Billiards
Regular MSRP of
.99
!!!
Listing is for (
1
)
Gold / Brass
Colored
E
X
TREME
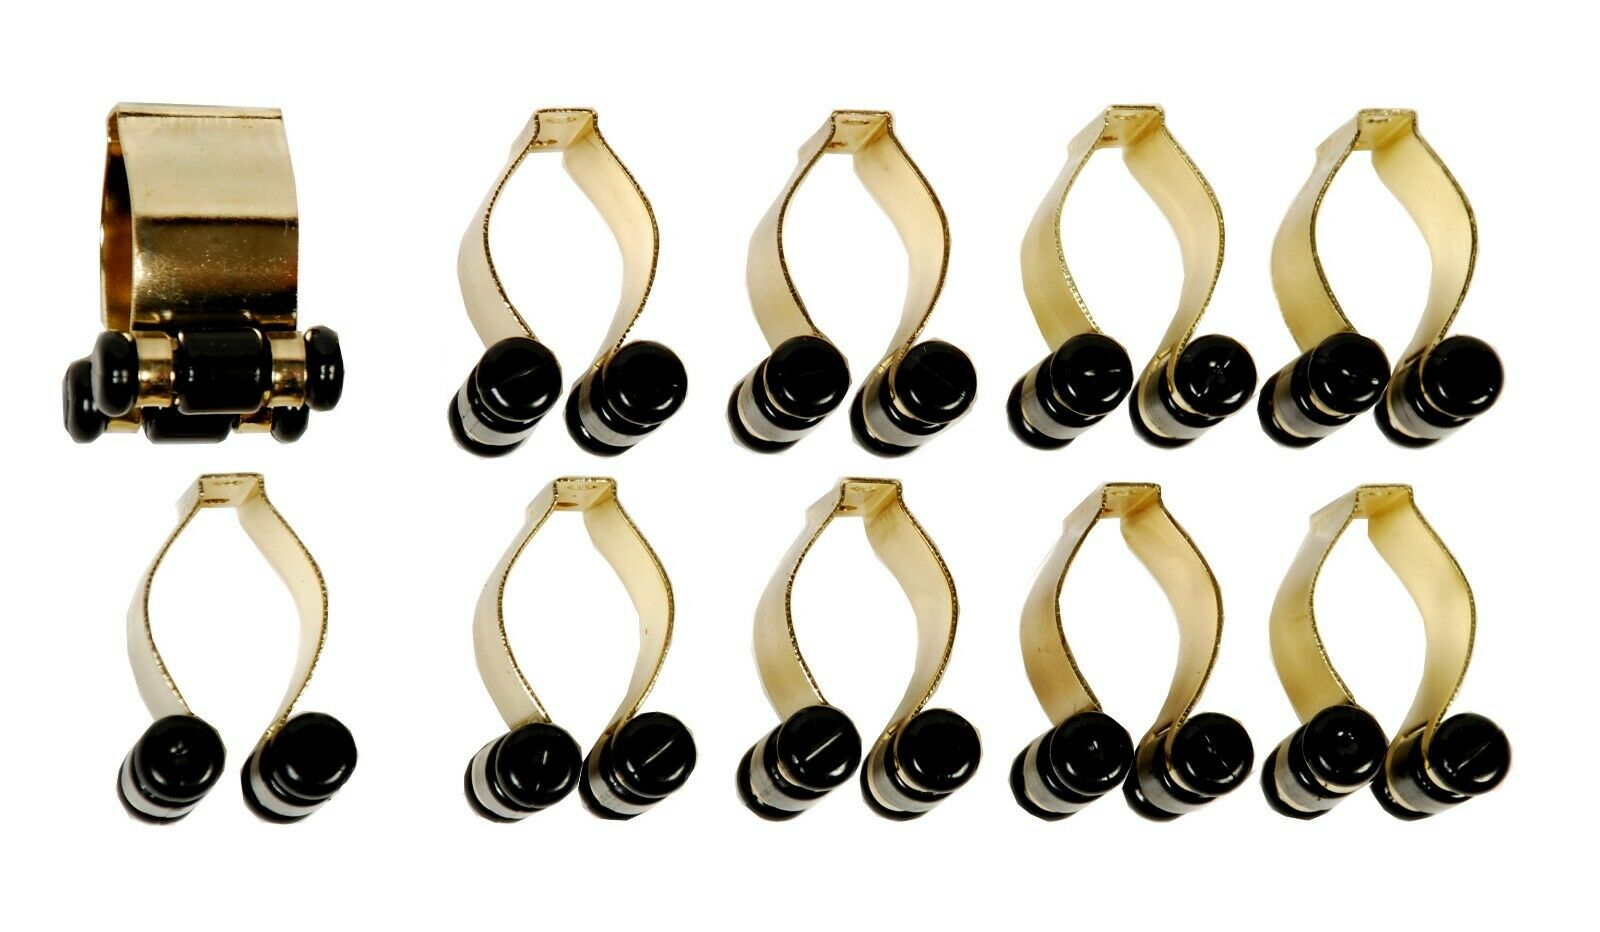
5 in 1 Tip Tool
Finally back on the market!
One of the most trusted tip tools in the billiards world is once again available
Now you can get the versatile tool that is actually 5 tools in one!
This auction is for
(
1
)
Gold/Brass
EXtreme
Cue Tip Tool
We also have these in
Metallic Blue
/
Pink
/
Black
Please Specify if you would like a color
OTHER
than
GOLD
Four easy steps to creating the perfect tip on your cue
Step 1. Trimming
Place the cue tip tool against the cue shaft, making sure the guide groove is touching the shaft along its entire length. Slide the tool back and forth without tilting the tool away from the shaft, keeping the entire length of the guide in contact with the cue shaft. Continue doing this around the entire cue tip and the sides of the tip will be sanded wherever needed. If the abrasive does not contact the sides of the tip, then the tip is not too large and you may skip this step and go on to burnishing.
Step 2. Burnishing
To burnish your cue tip, first slightly moisten the sides of the tip with your finger. Then grasp the cue shaft approximately two inches from the tip and place the tool so that the inside of the legs fits snugly against the cue tip sides and ferrule. Holding the shaft stationary, rotate the cue tip tool using medium pressure and forward motion. Watch as the sides of the cue tip become compressed and shiny. After 10 to 15 rotations, the tip sides should be exactly flush with the ferrule.
Step 3. Shaping
In order to shape a nickel or dime radius on the cue tip, rotate the cue tip back and forth inside the desired sized circular abrasive shaper with your fingers, or place the cue between your open palms and move your palms back and forth, rotating the cue tip clockwise, then counter-clockwise. The most important thing to remember is to use no more downward pressure than the weight of the cue while applying the back and forth motion.
Step 4. Tapping, conditioning
First chalk the tip heavily. The preferred method of using the tapper to create tip texture is to grasp the tool, press it against the cue tip with medium force and roll it across the cue tip in a forward motion towards you. Then rotate the cue about an eighth of a turn and do it again. You may also grasp the cue tip tool by the two abrasive sides and use a gentle tapping motion to apply the tapper to the cue tip. If using this method, be aware that tapping too hard may misshape the cue tip radius you previously created.
This tool's MSRP is .99
Our Price is a low
.98
with FREE Shipping!!!
Froo www.froo.com | Froo Cross Sell, Free Cross Sell, Cross promote, eBay Marketing, eBay listing Apps, eBay Apps, eBay Application

